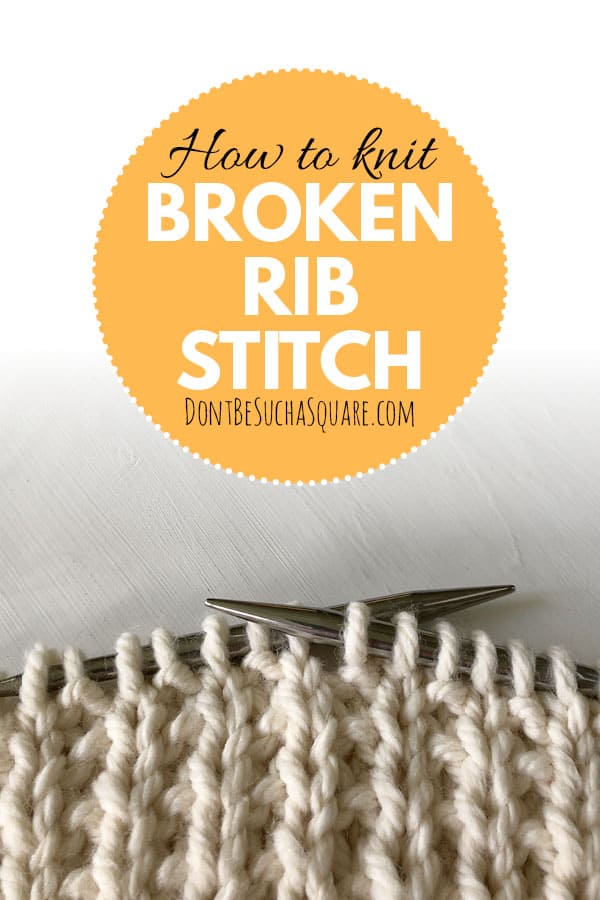
The broken rib is a pretty stitch that will look beautiful in a range of knitting projects! Try using it for sweaters, shawls, scarves, or hats. It is also a great stitch pattern for blankets and pillows.
This stitch is built up of columns of smooth knit stitches interrupted by columns of garter stitch.
It’s easy to knit and a perfect stitch for when you master the garter and stockinette stitches and are ready to try something else!

Is broken rib stitch reversible?
No, the broken rib stitch is not reversible, but the back also looks nice. As a matter of fact, the wrong side of the broken rib stitch is the sand stitch.
Knitting video: Broken rib stitch
In this video, I show how to knit the broken rib stitch. If you like to see more short knitting videos like this one please subscribe to my youtube channel!
How to knit the broken rib stitch
This stitch is built up of only knit and purl stitches, and it only has two pattern rows. It’s effortless to knit and are a perfect knitting stitch pattern to start out with if you’re about to try something a tad more complicated than garter stitch and stockinette stitch.
Find all my knit and purl stitch patters here!
Abbreviations used in this pattern
K – knit stitch
P – purl stitch
Tip!
If you want to learn more knitting abbreviations you find 88 different ones here in a list I compiled, because I have trouble remembering them all my self 🙂
Knitting broken rib flat
Broken Rib Stitch Pattern with an odd number of stitches
Cast on an odd number of stitches
Row 1: Knit across the row
Row 2: * P1, K1*, repeat *–* across row, P1
These 2 simple rows create this pretty stitch pattern.
Broken rib stitch using even number of stitches
Cast on an even number of stitches
Row 1: Knit across the row
Row 2: *K1, p1*, repeat *–* across the row
Keep repeating these two rows until desired length
Knitting broken rib in the round on circular needles
Cast-on on an even number of stitches, place a marker, and join in the round. The stitch marker is not necessary but it makes it easier to know when a new round starts.
Round 1: Knit the whole round
Round 2: *K1, P1*, repeat *–* the whole round
More to read!
––> 13 variations on knit ribbing
––> More knit and purl stitch patterns
––> Beginner friendly knit stitch pattern: Mistake rib