The Circular Knitting Needles Tutorial
Have you ever tried knitting on circular needles? Or maybe you haven’t been knitting on any type of needle?
In that case, this tutorial is for you. I want to start by giving you a big WELCOME!
Welcome to this super easy tutorial and to the knitting community!
I have really put my heart into this tutorial. Testing different methods to find the ones that get the job done in the easiest possible way. To take pictures of all the steps and to make some short films for you to watch and learn!
This is the first part in a series of posts about knitting with circular needles for beginners.
The Circular Knitting Needles Tutorial – the different parts:
- Part 1: We start right at the beginning with which tools you need to get started and how to cast on.
- Part 2: We join the first stitch to the last to be able to knit in the round and knit our first row! We are also going to add a stitch marker and solve some minor problems that can appear along the way. Like when the cable is too long for your amount of stitches and what to do if you drop a stitch. Part two is available here!
- Part 3: We are ready to finish our work! I walk you through how to bind off, or cast off as some of us say. And, I’m going to share a super simple little hack that makes all the difference. Then we weave in our ends and call it a day!
Each part includes a short text and picture tutorial and a video. The videos are also available on YouTube, please subscribe to my channel so you don’t miss any of my knitting tips! You can find my YouTube channel here!
If you are totally new to this knitting thing and want to know more about circular needles and why to use them read this post
And if you are curious about the queen of knitting needles, interchangeable needles be sure to check this page out!
But enough of that chatter! Let’s dive into the art of casting on, shall we?
First is a video where I show you how to cast on with circular needles and, then follows a detailed photo tutorial.
Video: Circular needles for beginners part 1
If you like this video tutorial, please subscribe to my Youtube channel for more!
How to do the long tail cast on with circular needles
To “cast on” means that you add the first stitches to your needle, the ones you are going to knit in later.
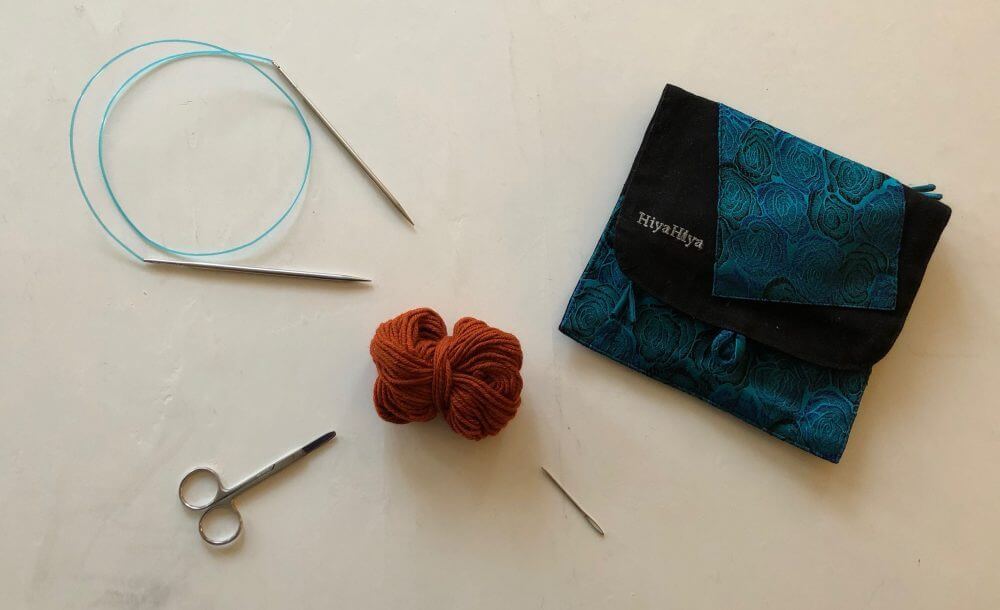
We are going to start by looking at what we’re going to need to get to the finish line with these three lessons.

Materials:
- Circular knitting needles
- Yarn
- Scissors
- Darning needle
- Stitch marker, a contrasting piece of yarn knot into a loop will do just fine! (I forgot to add that one to the photo…)
Make a slip knot
We are going to start by doing a slip knot, a loop that can be done larger by pulling it and smaller by pulling the long tail.
To do a slip knot just wrap the yarn around your index and long finger one time.
Slip the long tail (the end that’s not the ball of yarn) through the wrap you just did, creating a loop, and pull it until the wrap tightens to a knot closing the loop.
Add the loop at one of your needle tips so that you have the long tail closest to you, and the ball on the other side.
If this explanation is totally out of the blue, scroll down and watch the video and see if things are clearing up!
Casting on stitches on your circular knitting needle
Hold your needle with the long tail against you and the end attached to your ball of yarn on the other side.
Take the two strands of yarn in your left hand, putting your thumb and index finger between the strands.
Hold the strands firmly with your other fingers.
You should have the long tail running outside your thumb and the ball end over your index finger.
Move your needle in front of your thumb and insert it through the loop from below and upwards.
Pick the yarn coming from the ball from above and pull it through back to the thumb-loop. Let the loop slip off your thumb and tighten the new stitch you just created!
Tip for estimating how long the long tail needs to be
Here’s a quick tip for calculating how much yarn you’re going to need for your long tail.
Wrap the yarn around the needle as many times as your number of stitches.
Pull out at least 4 inches of your yarn as a cushion, so you know you have enough yarn to weave in the end later. Then wrap the warn around your needle tip as many times as you’re going to cast on stitches.
This gives a rough measurement of how much yarn you’re going to have in the long tail to avoid running out before adding all your stitches.
If you’re going to add a lot of stitches
If you’re going to add a lot of stitches, wrap ten or twenty times, measure the yarn needed and calculate how much tail you need from that measurement.