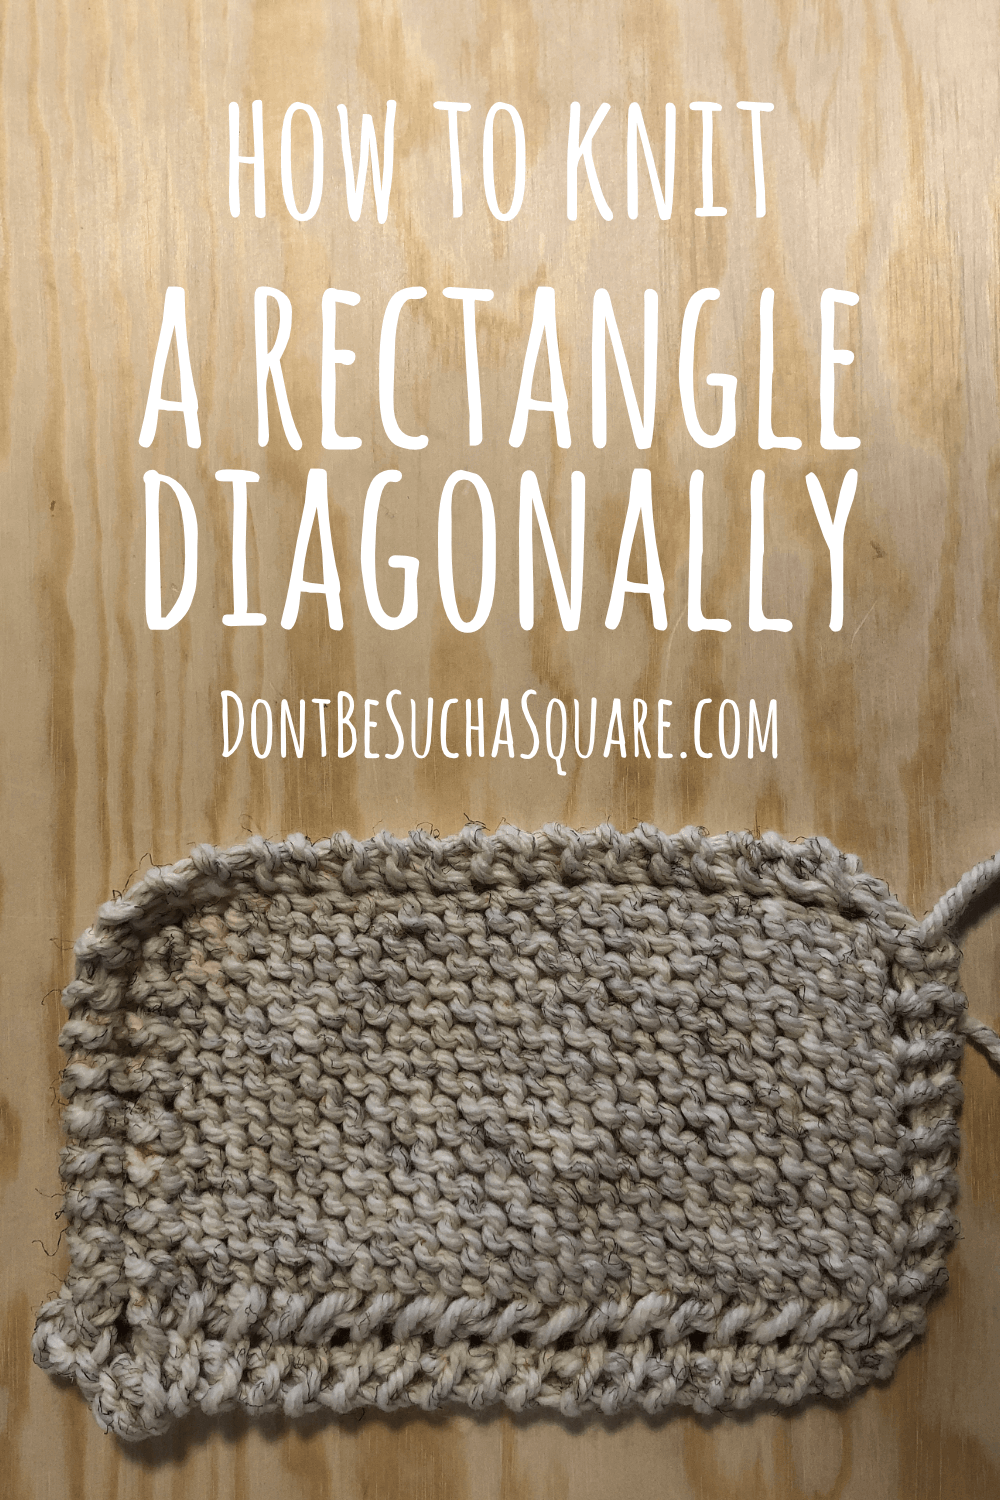
Easy pattern: How to knit a diagonal rectangle
A rectangle knitted diagonally, also known as a corner to corner rectangle, is super easy to do. At first, it can be a bit confusing but once you understand how the rectangle is shaped it’s a breeze!
This type of rectangle is great for knitting throw blankets, baby blankets, shawls, towels, and washcloths. You can also make many small ones and assemble them into a blanket!
Or maybe make both rectangles and corner to corner squares for a more intricate pattern? I like that idea and if you do to you find instructions for making corner to corner squares in this post!

How to knit a rectangle from corner to corner
When you knit a rectangle diagonally the work can be divided into three sections.
Section 1: You start at a corner and work increases to form a triangle shape.
Section 2: You increase on one side and decrease on the other side to form a parallelogram shape.
Section 3: You decrease on both sides to form the closing triangle and cast off at the corner opposite to where you started.
Knitting pattern: Corner to corner rectangle
Section 1: Cast on and increases
Cast on 5 stitches. You can use your favorite cast on method, I use the long tail cast on as I find it quick and easy to do.
Row 1: knit all stitches.
Increase row: slip 1 knitwise, K1, yarn over, knit to the end of row.
Repeat row 2 until the sides are as long as you want the shortest side of your rectangle to be. When increasing on all rows your work will be shaped like a triangle.
Section 2: Increases and decreases
To form the parallelogram or the body of the rectangle you need to increase on one side and decrease the same amount of stitches on the other side. In other words, you’re going to alternate the increase row with an decrease row.
Place a marker after the slipped stitch the first time you knit the decrease row. This makes it super clear if you’re about to increase or decrease. Every time your row has a marker at the beginning, it’s a decrease row.
Decrease row: Slip 1 stitch knitwise, knit 2 stitches together, yarn over, knit 2 stitches together, knit until end of the row.
Increase row: slip 1 knitwise, K1, yarn over, knit to the end of row.
Keep alternating these rows until the long side of your work has the same length as you wish your finished rectangle to have.
Section 3: Decreases and bind off
So it’s time to knit the last section, the triangle that will finish everything and make your knitting project look like an actual rectangle.
Work the decrease row on every row until you have five stitches left on the needle.
Decrease row: Slip 1 stitch knitwise, knit 2 stitches together, yarn over, knit 2 stitches together, knit until end of the row.
Knit the five stitches and bind off, and weave in your ends.
Well done! You have knitted a diagonal rectangle! That wasn’t that hard, right?!
Want more help? Watch the video!
If you like my videos please consider subscribing!
Your next read!
––> How to knit corner to corner squares
––> Best journals for knitters
––> 7 years with my Hiyahiya needles – did they stand the test?