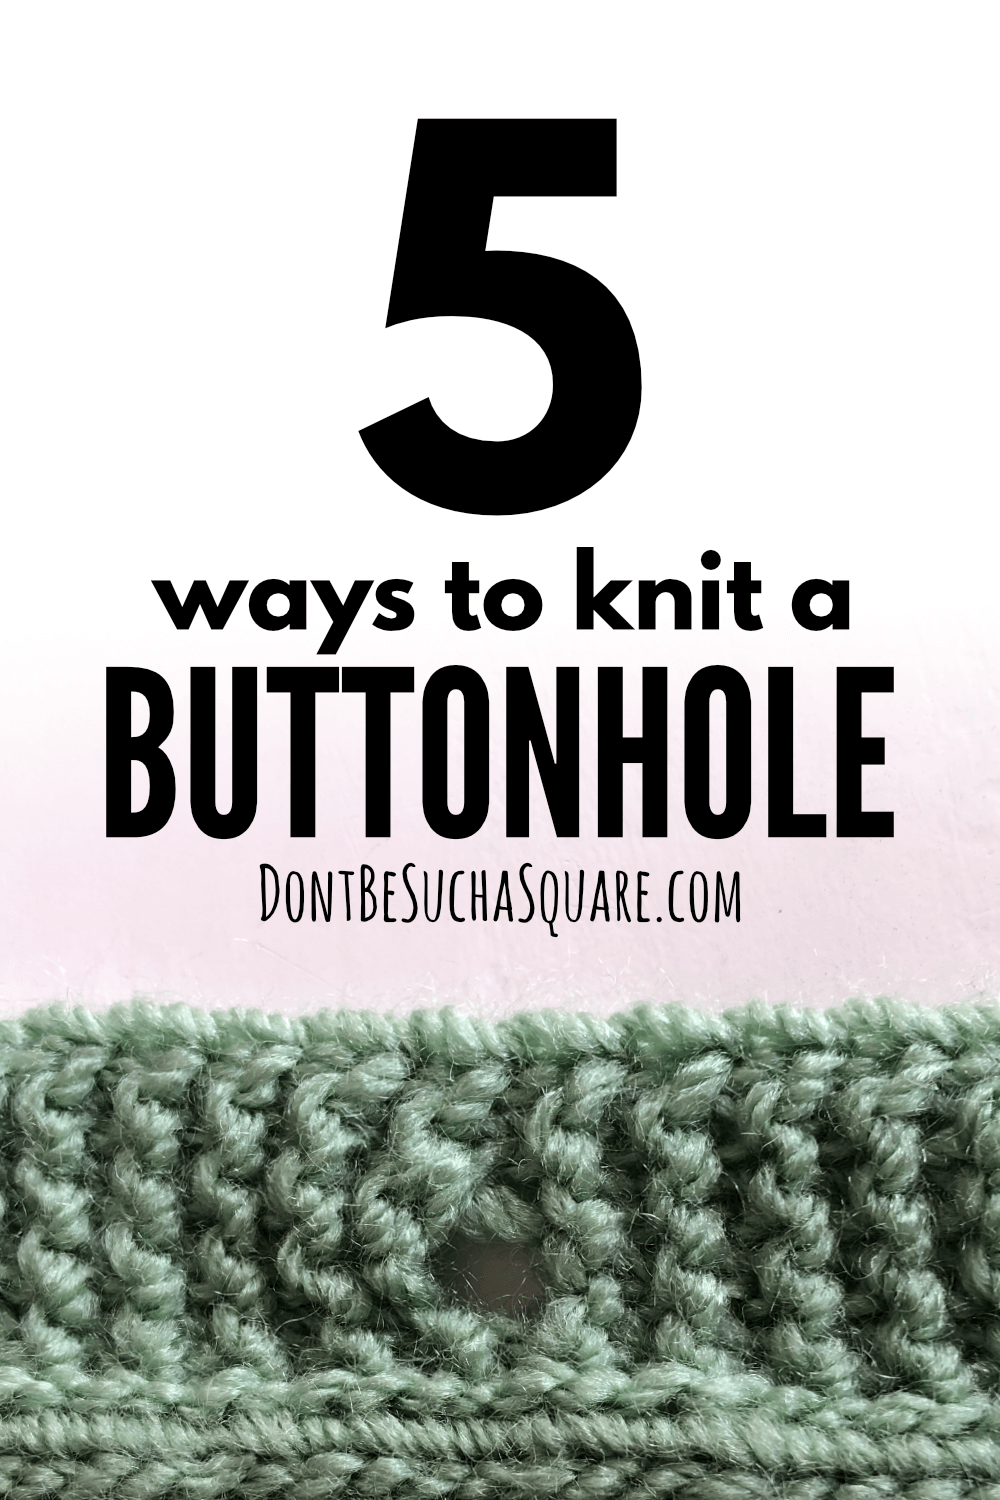
My best tip for knit buttonholes is simple but good: Make sure your buttons and buttonholes match before finishing a whole garment.
When sewing the rule of thumb is that the buttonhole should be slightly larger than the button, so the button can easily slide through.
In knitting, however, the buttonhole needs to be slightly smaller than the button because of the stretchy nature of knitting.
Of course, the button must still be able to fit through the hole. If the button is a bit larger than the hole it won’t slide out by mistake.

Decide on the buttonholes sizing
If you add a buttonhole to your swatch it’s easy to try if the button will fit before you have spent a lot of time and effort in vain.
If you didn’t swatch the buttonhole in advance, you can just make the first buttonhole and try to put the button through. If it fits it’s good, if it doesn’t you can just unravel it and give it another go. (And be glad you discovered it sooner rather than later!)
If it’s not a match you may want to consider using a different method to knit your buttonhole. Or, a method that allows adjusting over how many stitches you make the buttonhole.
Different ways to knit buttonholes
There are a lot of ways to knit buttonholes. From a simple yarn over to the more complicated techniques where you bind off and cast on new stitches in different ways.
I have listed five variations of buttonholes for you down below, and as always there are pros and cons with all of them!
#1 The easiest way to knit a buttonhole
The easiest way to knit a buttonhole is to decrease one stitch and then make a yarnover. This is one of the most common as well.
This buttonhole can be added where ever you want by knitting 2 stitches together and then making a yarn over. (k2tog, YO) (You can also do the yarn over first and the decrease right after, the result will be the same.)
One the following row you work the yarn over as a regular stitch.
This is easy, won’t mess up your stitch count, and creates a small rounded hole. The hole looks very discrete when made in garter stitch as the ridges more or less hide the hole.
#2 Double yarn over buttonhole
Making two yarn overs creates a bigger buttonhole. Making two yarn overs increases two stitches, therefore you will also need to decrease two stitches to keep your stitch count.
Knit 2 stitches together, make 2 yarn overs, slip slip knit (k2tog, 2YO, ssk)
Knit the yarn overs through the back loop on the next row.
#3 Two row buttonhole with yarn overs
This is currently my favorite of the buttonholes. It’s a bit on the larger side, it’s easy to make and I think it holds its shape rather well.
This two row buttonhole can easily be adjusted in size as well!
Row 1: Bind off two stitches
Row 2: Make a double yarn over
Knit the yarnovers through the back loop on the next row.
Wanna know more? I have a blog post with a video tutorial dedicated to this buttonhole.
#4 Bind off and cast on
This is a classic buttonhole where you bind off on the first row and cast on new stitches on the next row.
Row 1: Bind off as many stitches as needed to fit your button.
Row 2: Cast on the same amount of stitches.
There are a few different ways to cast on stitches in the middle of a row. Learn more here!
#5 No need ot knit a buttonhole
Yeah, you read me right, for some types of knitting you don’t even have to make a buttonhole.
This is often the case for bulky yarns or when knitting with loose tension, the stitches are so big you can easily fit a larger button through or between the stitches!
Be sure to test this on your swatch, we don’t want any bad surprises!
There is more to explore
We have only dipped a toe into the ocean of buttonholes here, but I think you can manage most knitting projects with these five variations.
If you like to explore the topic further, make a google or Youtube search and you will find buttonhole variations that will probably last you a lifetime 🙂
Your next read:
––> Knitting with slipped stitches
––> Squishy textured stitch
––> 10 adorable baby blanket kits