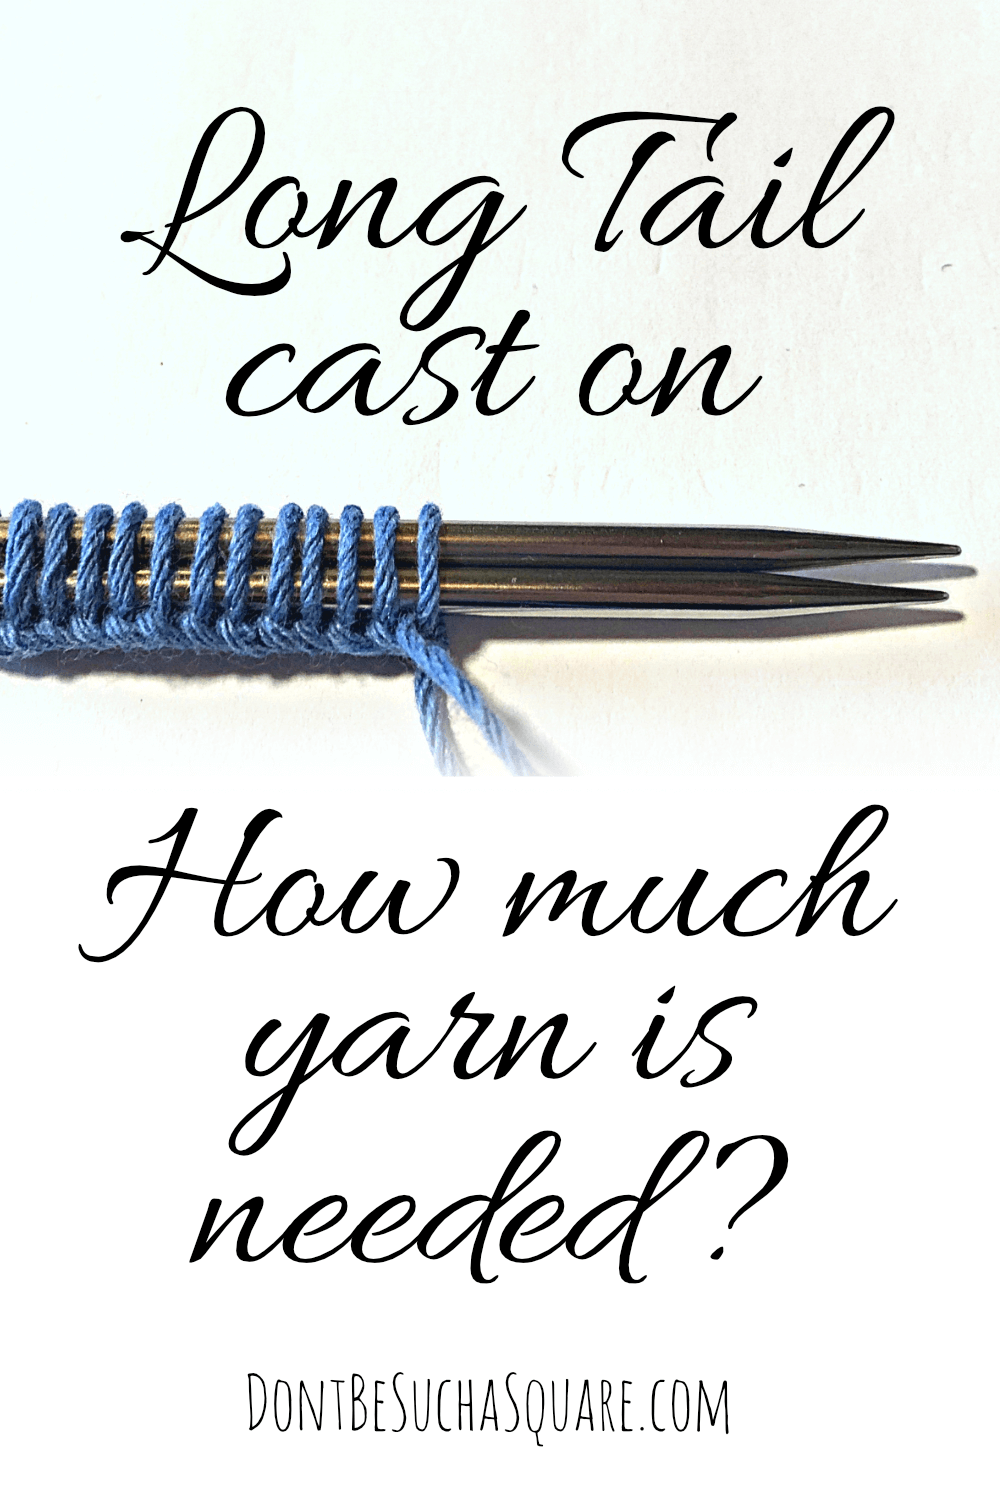
How long is a long tail?
The long tail cast on is an easy and quick one that many knitters like. But the question about how long the yarn tail needs to be is one that’s asked over and over again.
And the solutions are many… here are 5 tips for how you can calculate the length of the yarn tail.
My favorite tip, the one that I almost always use myself, is number five on the list. And I like to think that it’s very clever!
If you want to learn the long tail cast on you can find a tutorial with both written and video instructions here!

Knitting video: How much yarn is needed for a long tail cast on?
This video goes over the five tips briefly, if you wish to know more please read about each method below as well!
Every time I get a new subscriber to my youtube channel it makes me smile. So if you wanna put a smile on my face today, please subscribe to my channel 🙂
Tip 1: Wrap the yarn around the needle
Pull out at least 4 inches of your yarn as a cushion, so you know you have enough yarn to weave in the end later. Then wrap the warn around your needle tip as many times as you’re going to cast on stitches.
This gives a rough measurement of how much yarn you’re going to have in the long tail to avoid running out before adding all your stitches.
If you’re making something big like a shawl or knitting on circular needles this won’t work.
The cable is much thinner than the needle tip, therefore you can’t wrap your yarn around it and expect the measurement to be correct. Also, if you’re about to cast on 300 stitches it’s not that fun to start with wrapping 300 times.
Instead, wrap ten or twenty times, measure the yarn needed and calculate how much tail you need from that measurement.
Tip 2: Do some (super easy) math
Don’t want to wrap your yarn? Make some easy calculations and use a measuring tape instead.
This method says you need a yarn tail that’s three times the width of your cast on edge, and then 10 % extra.
For example, you’re casting on for a scarf with a width of 10″/25cm.
Width x 3: 10″/25cm x 3 = 30″/75cm
+ 10%: 30″/75cm x 1,10 = 33″/82,5cm
This can work well, but if you need a stretchy edge and are casting on over two needles you will also need more yarn. I would say about five times the width of your cast on edge.
Tip 3: Cast on and undo
Well, I understand that casting on and undoing can seem contra-productive. But it’s actually quite smart!
Cast on 10 stitches and unravel them. Now you know how much yarn is needed for 10 stitches. Add as many more lengths of yarn as needed.
For example, if you need 40 stitches add three more lengths of yarn + some extra for weaving in your ends.
Tip 4: Stitches per inch/cm
Most yarn labels have the gauge, the number of stitches per inch or four inches/10cm printed on them. I have seen tips about using that number for calculating how much yarn is needed for the cast on.
For example, for a yarn that has 5 stitches/inch, you should add an inch to your long tail for every five stitches, plus a few inches for weaving in.
This method is not one I recommend. Gauge is a measurement of how many stitches you need to knit to achieve a fabric in a certain width, not how much yarn is needed to make the stitches.
Tip 5: (My favorite) Use two skeins of yarn
I always felt it was too much of a hustle with all this wrapping, calculating, and measuring which lead me towards guestimating. That wasn’t a solution either as a often had too little or too much tail at the end…
Then I realized I could use two skeins of yarn, just like when knitting a two color cast on. But instead of two colors, I use two skeins of the same color. Or both ends from the same if I’m using a yarn cake.
To follow this tip: take two skeins of the same yarn and tie them together with a slip knot. And then do a regular long tail cast on as you learned above. The slip knot is only for attaching the yarn to the needle and should not count as a stitch. Let it slip off the needle instead of knitting it as a stitch.
Follow the instructions for two color cast on for more detailed instructions. The only difference is that you’re going to use two strands of the same color.
The pros of this method are:
- You will never run out of yarn for your cast on
- You will never waste a long tail of yarn
- You will not treat the slip knot as a stitch, because it’s to bulky with double yarn. Instead just let it slip off the needle and pull it out when the cast on is done, or after the first row depending on if you knit in the round or flat.
- You will have two more yarn ends to weave in. If you’re not knitting a few stitches with double yarn and then cut them as I do because I’m lazy 🙂
Your next read:
––> Measuring gauge in knitting
––> 4 ways to knit neater edges
––> Luxurious gifts for knitters